
Hotel Corridor Downlight Selection: 3 Parameters to Avoid Glare
Hotel Corridor Downlight Selection: 3 Parameters to Avoid Glare
The hotel corridor is more than just a passageway; it’s a critical transitional space that sets the tone between the private room and the public area. Its lighting must balance multiple demands: ensuring safety and wayfinding, maintaining a serene and upscale ambiance, and providing visual comfort. A common pitfall that undermines all these goals is glare—the uncomfortable brightness caused by excessive contrast or direct view of a light source.
Selecting the wrong recessed downlights can turn a corridor into a harsh, cave-like tunnel or a spotty, disorienting path. The secret to avoiding this lies not in aesthetics alone, but in understanding three core technical parameters. Mastering UGR, Beam Angle, and Cut-off Angle is the key to specifying downlights that illuminate flawlessly and invisibly.
1. Unified Glare Rating (UGR): The Master Metric
What it is: The Unified Glare Rating (UGR) is an international standard (CIE 190) for measuring and quantifying the psychological sensation of glare in a lighting installation. It’s a calculated value, not a property of the single fixture alone, but of the fixture within its specific environment (room geometry, surface reflectances, and layout).
How it relates to glare: A lower UGR number means less perceptible glare. The scale typically runs from 10 (imperceptible glare) to 30 (uncomfortable glare). For intimate, relaxed spaces like hotel corridors, the target UGR should be 19 or lower.
The Downlight Connection: Reputable downlight manufacturers provide UGR tables for their products. When selecting, look for a fixture that, when calculated for a typical corridor height (e.g., 2.4m-3m) and standard spacing, achieves a UGR of ≤19. Fixtures with deep recesses, micro-prismatic lenses, or honeycomb louvres are specifically engineered for low UGR.
2. Beam Angle: Controlling Light Spread & Intensity
What it is: Beam angle determines how light is distributed from the downlight. A narrow beam concentrates light into an intense spot, while a wide beam spreads it out into a softer, more diffused pool.
How it relates to glare: This is the primary source of the "car headlight" effect. Using a very narrow beam angle (e.g., 15°-25°) in a corridor creates pools of extreme brightness directly under the fixture, with stark, dark areas in between. This high contrast is visually jarring and causes pupil dilation/constriction as guests walk, leading to eye strain and poor wayfinding.
The Ideal Choice: For general corridor illumination, a medium-wide beam angle (40°-60°) is ideal. This creates generous overlap between adjacent downlights, resulting in smooth, even illumination across the floor and walls. It minimizes harsh contrasts, eliminates dark spots, and provides a uniform, comfortable brightness level. Save narrow beams for accentuating artwork or architectural details.
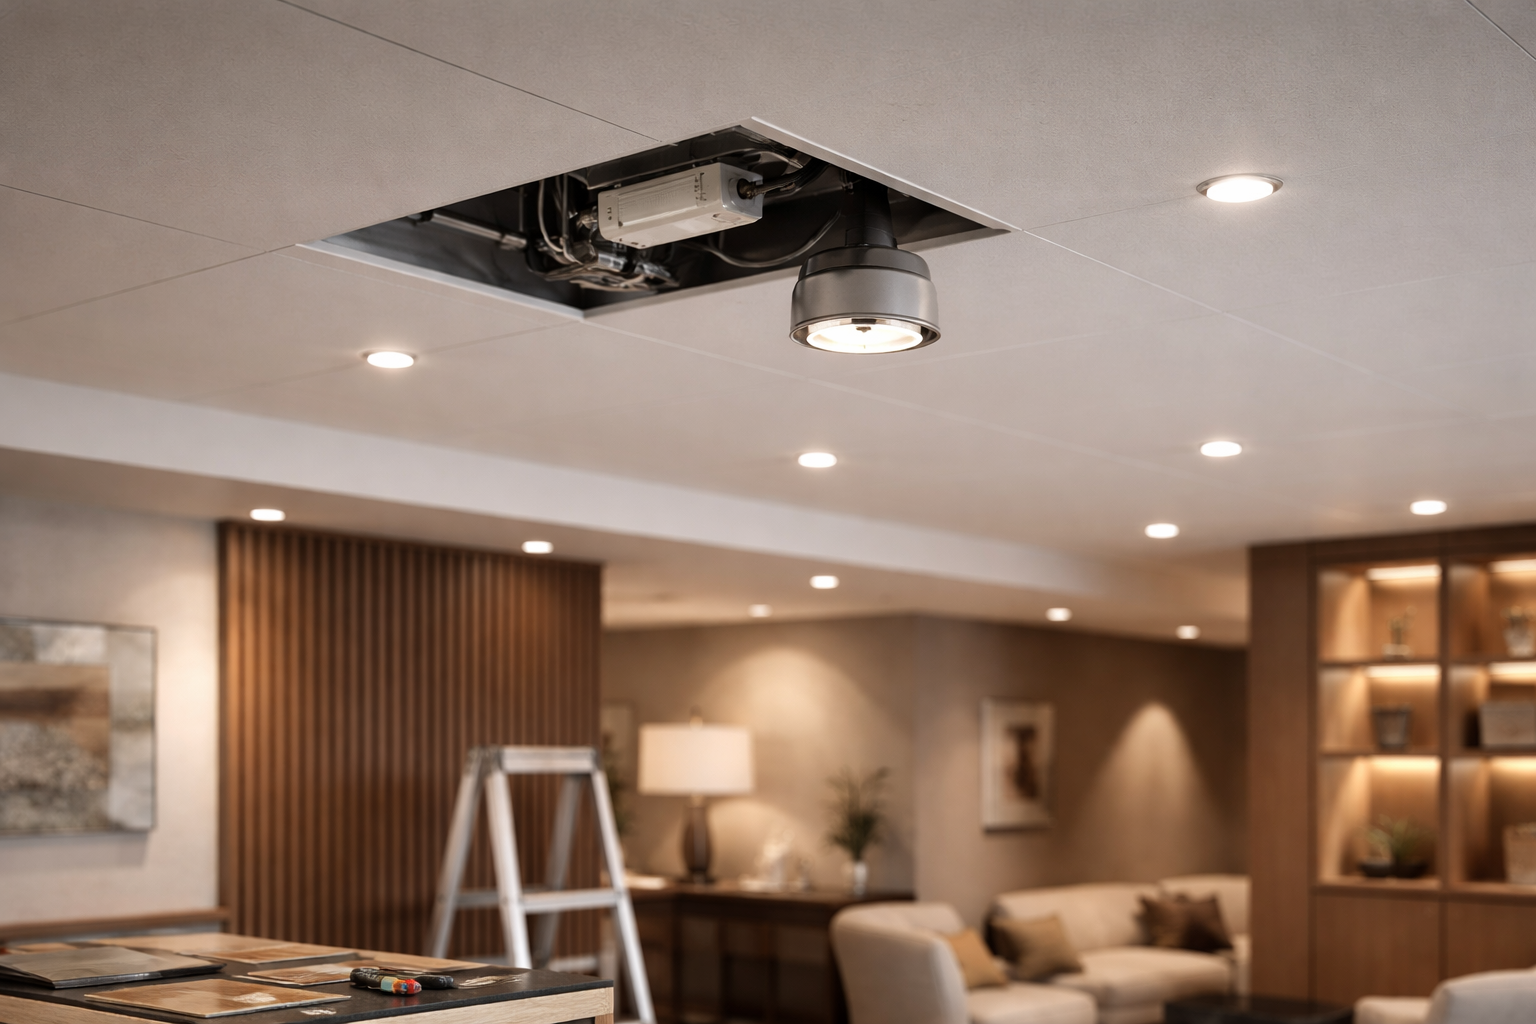
3. Cut-off Angle & Shielding: The Physical Barrier
What it is: The cut-off angle is the angle from the ceiling plane (vertical) at which the light source (LED chip) itself becomes directly visible. Effective optical shielding (using reflectors, baffles, or lenses) controls this angle.
How it relates to glare: Imagine walking down a corridor and seeing the raw, bright LED chip inside each downlight. This is direct glare, and it’s intensely uncomfortable. It occurs when the shielding is poor and the cut-off angle is too large, allowing the source to be seen from normal sightlines.
The Visual Comfort Solution: High-quality corridor downlights feature a deep recess and a black baffle or specular reflector. This creates a "cut-off" that hides the light source from view until you are almost directly underneath it. From the standard viewing angle along the corridor, you see only the gentle, reflected light on the walls and floor, not the blazing source. Always choose fixtures with a pronounced, non-reflective baffle (matte black is best) for optimal glare control.
Putting It All Together: The Checklist for Your Project
When evaluating downlights for your hotel corridor project, use this 3-point checklist:
Verify UGR Performance: Ask the supplier for the UGR calculation report for a typical corridor setup targeting UGR ≤ 19.
Specify the Correct Beam: Select a fixture with a 40°-60° beam angle for even, general ambient light. Consider a wall-washing optic if highlighting textured walls.
Inspect the Shielding: Physically examine the sample. Ensure it has a deep recess and a matte black baffle or advanced micro-optic system that completely hides the LED chip from side views.
By moving beyond basic lumens and wattage to these critical optical parameters, you transform your corridor lighting from a mere utility into an invisible, comforting guide. The result is a space that feels inherently safe, serene, and luxurious—where the light itself is never noticed, only its perfect effect. This is the hallmark of truly professional, guest-centric hotel lighting design.
Ready to specify glare-free downlights? Explore our technical specifications or contact our lighting specialists for project-specific UGR calculations.
 FM Lighting Replacements Without Guessing: Check Driver and Dimming Compatibility Before the Fixture Looks “Ready to Replace”
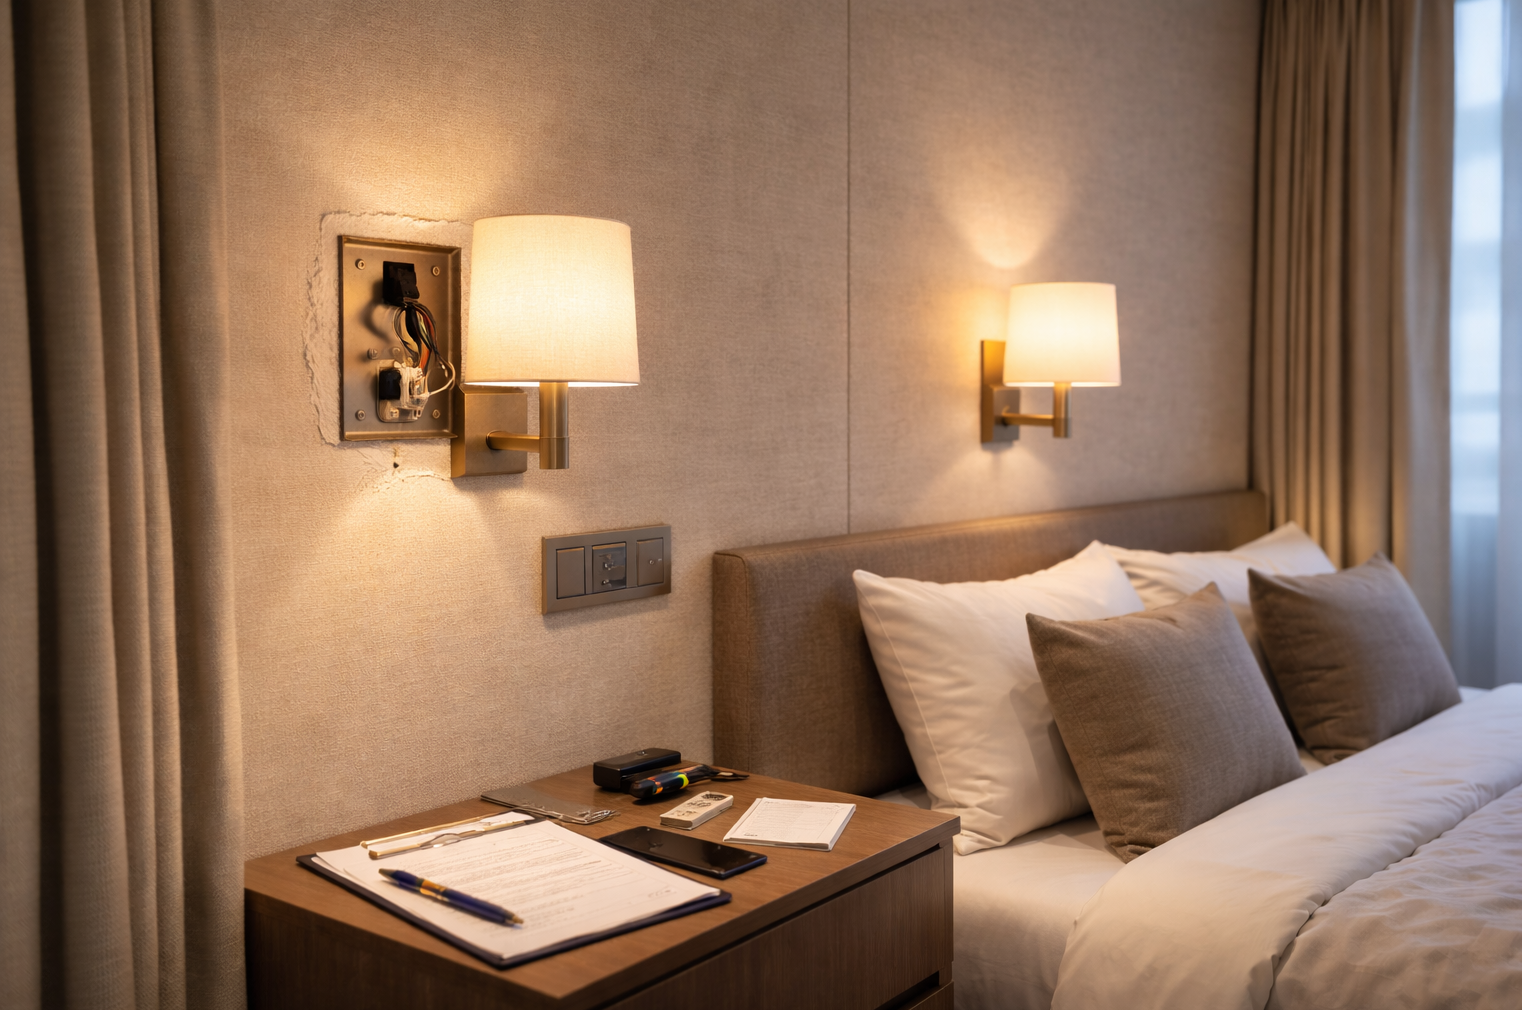 Hotel & Serviced Apartment Refresh: Check Circuits & Dimming Before Choosing Fixtures
 Why multi-stakeholder projects rush timelines but delay decisions
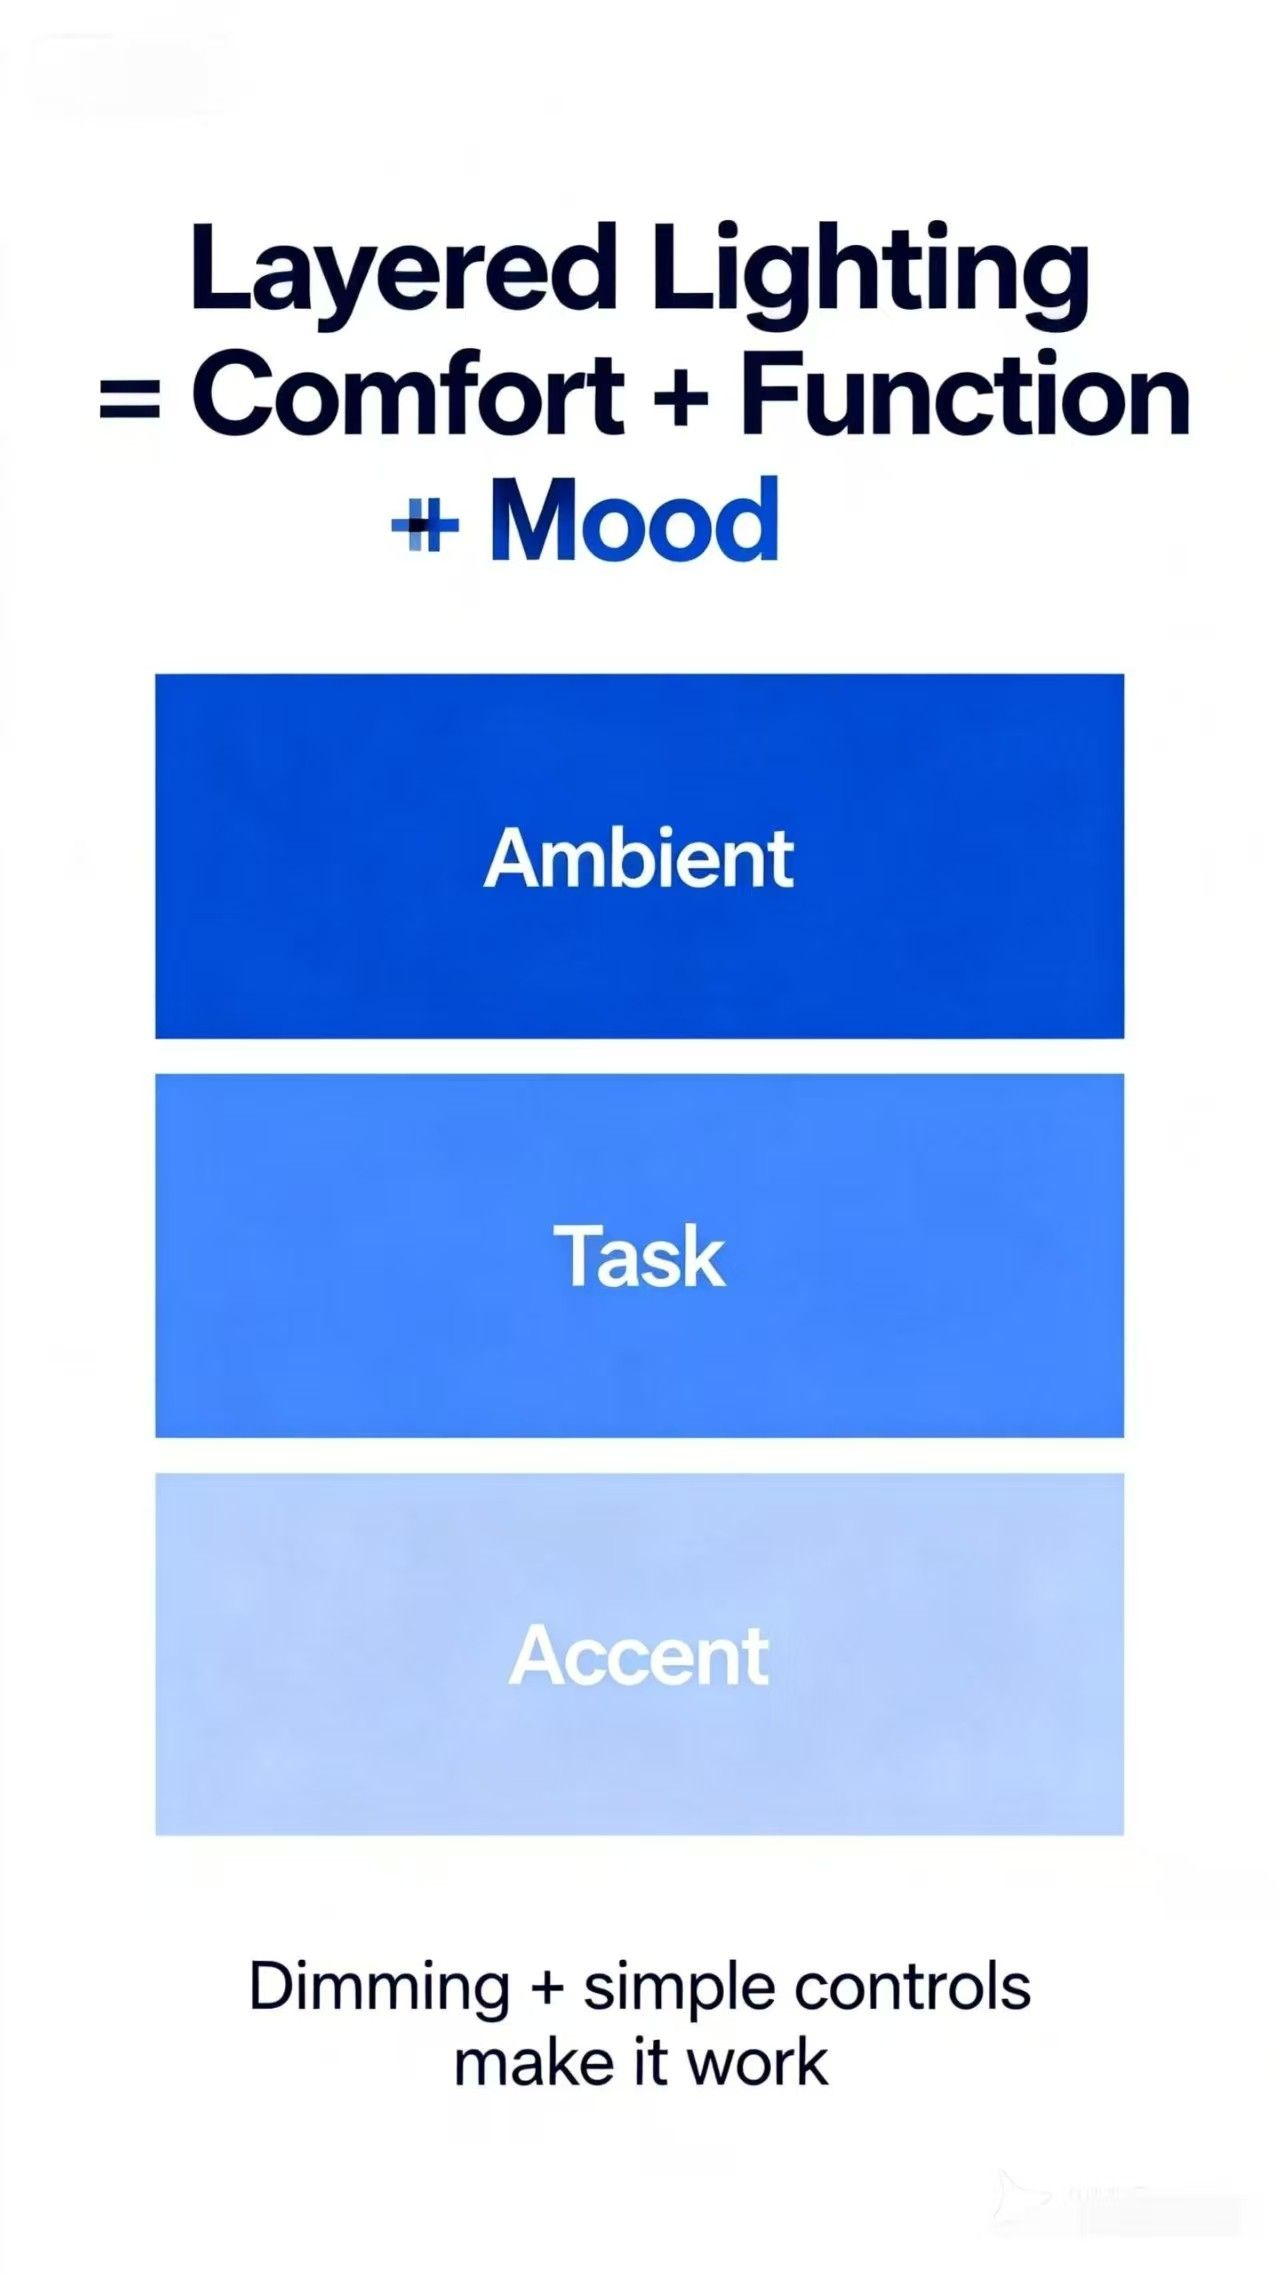 Layered Lighting 101: The Fastest Upgrade That Changes a Home