
Installation & Layout Masterclass: How to Place Bollard Lights for Maximum Impact
Installation & Layout Masterclass: How to Place Bollard Lights for Maximum Impact
A perfect bollard light, poorly installed or laid out, fails in its core mission. This masterclass moves from theory to practice, providing a step-by-step guide to installing a durable system and designing a layout that is both functionally superb and visually harmonious.
Phase 1: The Art of Layout – Planning for Rhythm and Function
Before digging a single hole, a lighting plan is essential.
For Pathways & Walkways: The primary goal is safe, comfortable navigation.
Spacing: Place fixtures 8 to 10 feet apart, center-to-center. This creates overlapping pools of light that eliminate dangerous dark spots. The fixture height should be roughly one-quarter to one-half of the spacing (e.g., 24″ high lights spaced 8-12 feet apart).
Positioning: Install fixtures 12 to 18 inches from the edge of the path. For two-sided paths, stagger the fixtures in a “zig-zag” pattern rather than lining them up directly opposite each other for more even illumination.
For Driveways & Boundaries: Here, the goal is definition and scale.
Space bollards 15 to 20 feet apart along the driveway edge. Always cluster or use a slightly taller fixture at the entrance to clearly mark the transition from public to private space.
Use bollards to visually “contain” a space or mark property corners without creating a fortress-like wall of light.
For Architectural & Accent Lighting: Use bollards to graze walls, highlight textures, or frame entrances.
Wall Grazing: Place asymmetric bollards 6-12 inches from a wall. The light will skim vertically, dramatically revealing stone, brick, or wood textures.
Framing Entrances: A symmetrical pair of bollards on either side of a doorway or gate provides a classic, welcoming sentinel effect.
Phase 2: Step-by-Step Installation Guide for a Permanent Fix
For a professional, lasting installation, a fixed concrete base is required.
Mark & Dig: Using your plan, mark each center point. Dig a hole at least 12 inches wider than the fixture base and 18-24 inches deep (below the local frost line if applicable).
Prepare the Base: Pour 3-4 inches of gravel or crushed stone into the bottom for drainage. This prevents water from pooling in the footing.
Set the Fixture & Conduit: Place the bollard’s mounting base or anchor sleeve in the center. Feed the low-voltage cable through PVC conduit (schedule 40) from the transformer location. Leave a service loop of cable in the hole.
Pour Concrete & Align: Pour quick-set concrete around the base, ensuring it is perfectly plumb (vertical) and level. Use temporary bracing if necessary. The concrete should be just below grade level.
Final Assembly & Wiring: Once the concrete has cured (24-48 hours), attach the bollard post to the base. Make watertight, in-line splice connections using direct-burial connectors. Finally, secure the luminaire head, ensuring all gaskets are properly seated.
Phase 3: Advanced Techniques for Dynamic Effects
Creating Rhythm & Sequence: Beyond simple lining, use bollards to create visual sequences. For example, a line of lights can gently curve, leading the eye toward a focal point like a specimen tree or sculpture.
Layering with Other Lights: Bollards provide the low-level, ambient “floor” layer. Combine them with downlights from trees (moonlighting) and uplights on key features to create a rich, three-dimensional lighting scene with depth and shadow.
Controlling the System: Integrate bollards into a smart low-voltage system. Use photocells for dusk-to-dawn operation, motion sensors to boost light levels when needed for security, and multi-tap transformers to fine-tune brightness and compensate for voltage drop over long runs.
Conclusion: Precision Yields Perfection
The difference between an amateur and a professional installation is precision in planning and execution. A meticulously laid-out and correctly installed bollard lighting system will appear effortless, guiding movement, enhancing beauty, and providing security—all while the hardware itself fades quietly into the landscape, letting the light do all the talking.
 FM Lighting Replacements Without Guessing: Check Driver and Dimming Compatibility Before the Fixture Looks “Ready to Replace”
 Hotel & Serviced Apartment Refresh: Check Circuits & Dimming Before Choosing Fixtures
 Why multi-stakeholder projects rush timelines but delay decisions
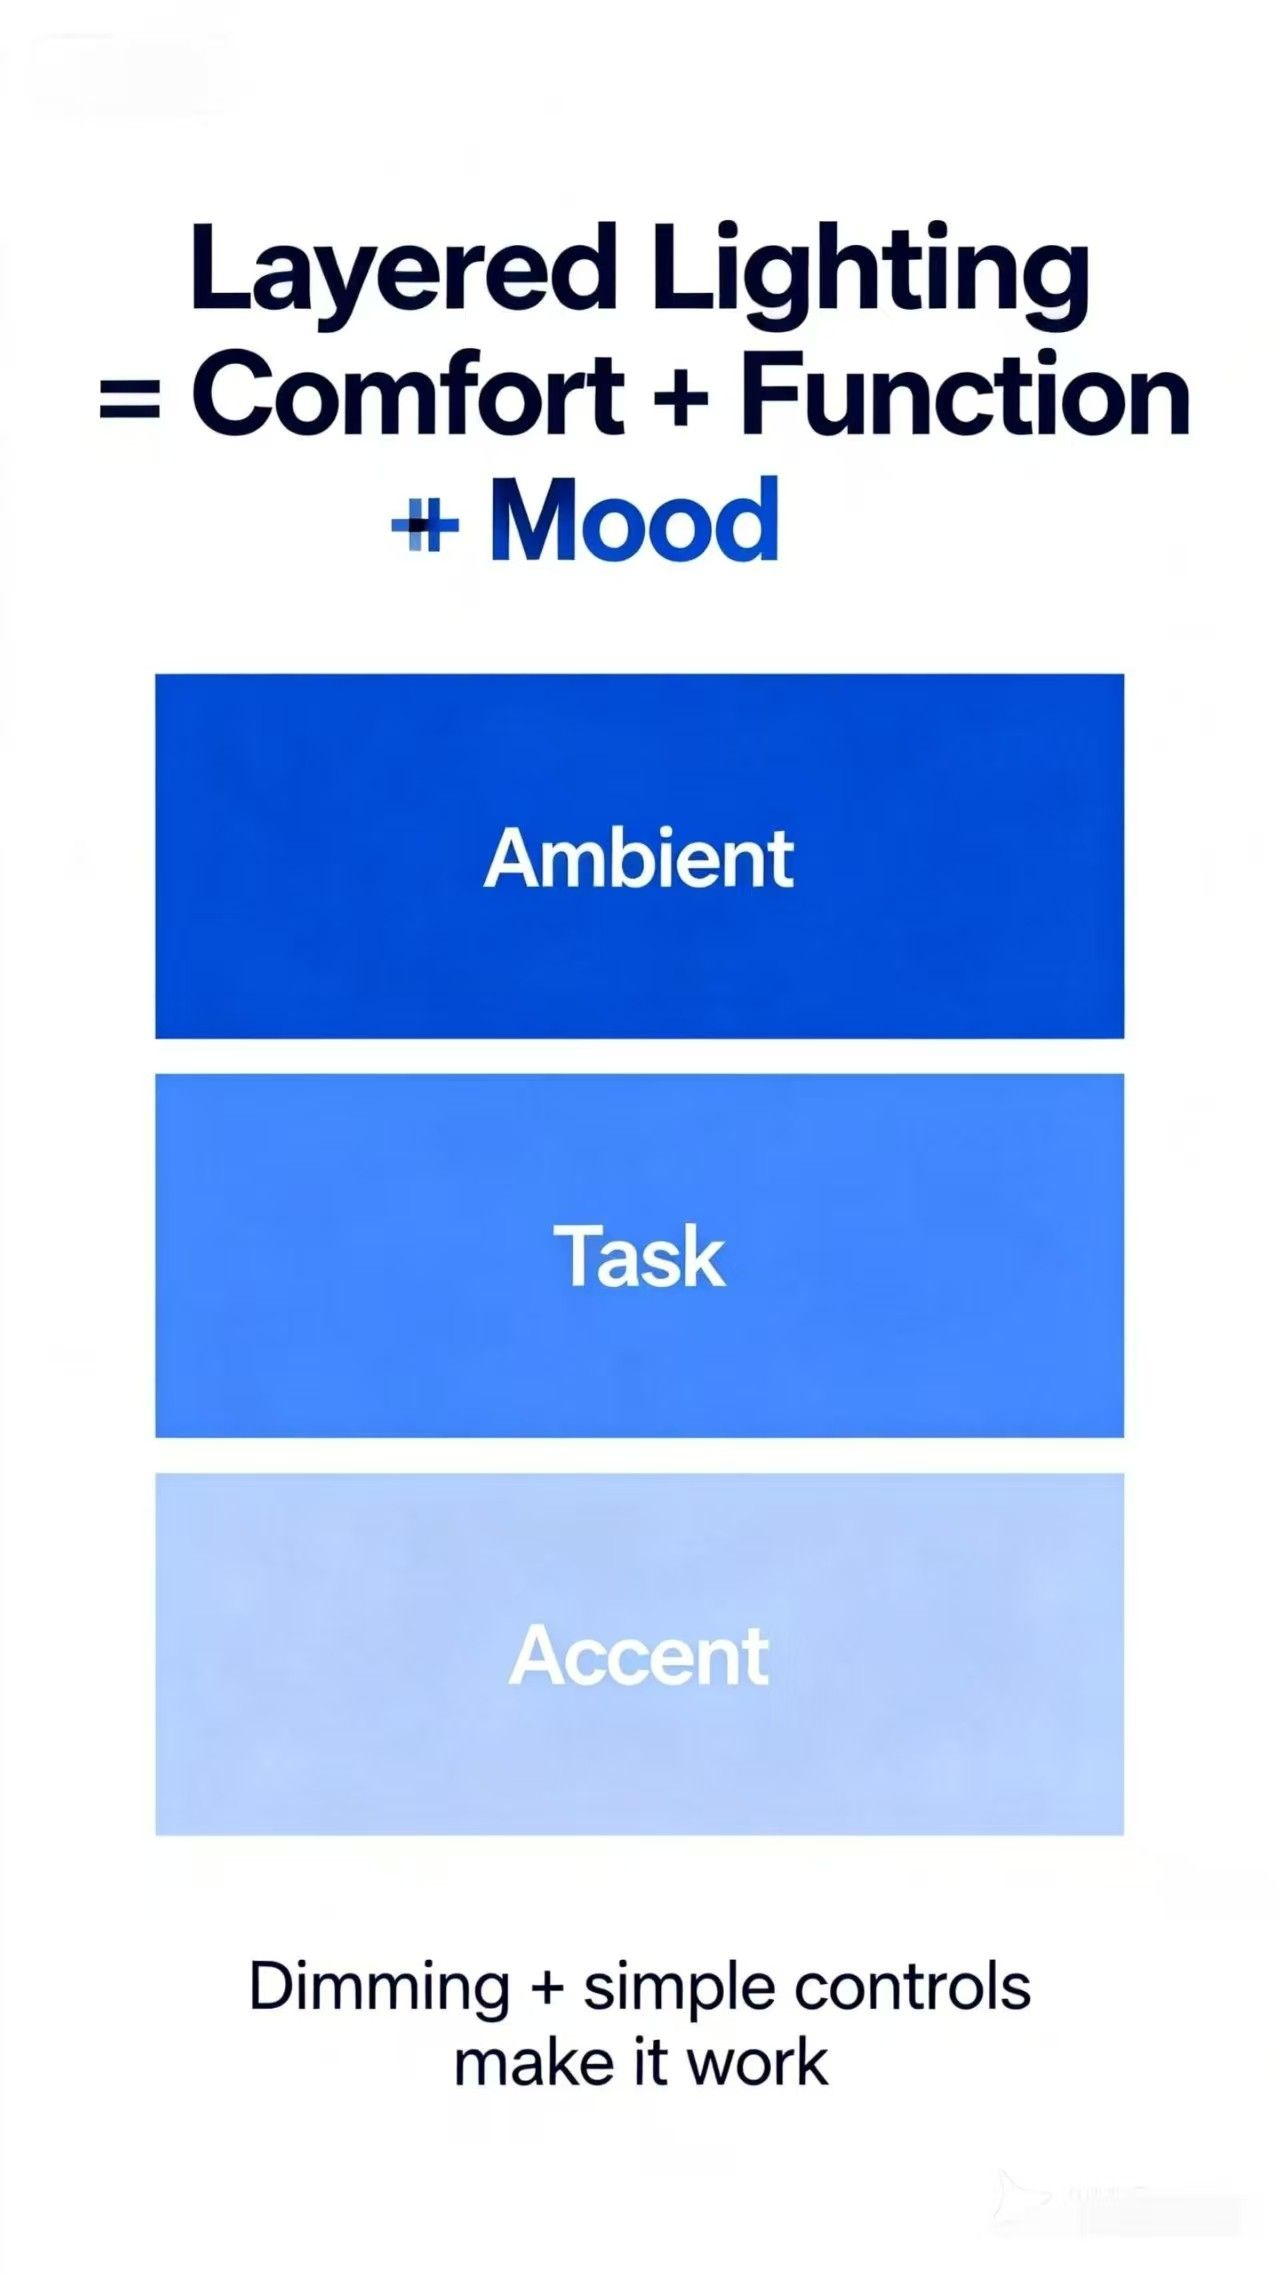 Layered Lighting 101: The Fastest Upgrade That Changes a Home