
DIY Landscape Lighting: A Step-by-Step Guide to Planning & Installing Your System
Empowerment Through Planning: Building Your Own Low-Voltage System
Installing a low-voltage (12V or 24V) landscape lighting system is a rewarding DIY project that drastically enhances your home. Success hinges on planning and understanding a few electrical fundamentals. This guide provides the roadmap.
Phase 1: The Master Plan
Sketch Your Property: Draw a basic plot plan. Mark your house, major trees, paths, and key features.
Place Your Fixtures: On the sketch, mark each light’s location. Note the fixture type (path, spot, well light) and its wattage (e.g., 4W LED).
Plan Your Hub: Decide where the transformer will live. It must be within 1-2 feet of a GFCI-protected outdoor outlet and in a sheltered location (garage sidewall, under eaves).
Phase 2: Sizing Your System – The Math That Matters
Total Wattage Calculation: Add up the wattage of every LED lamp in your plan. If using 10x 5W lights, total wattage = 50W.
Choosing a Transformer: Your transformer’s wattage rating must be at least 20% greater than your total load. For a 50W load, choose a transformer of 75W or larger. This “headroom” prevents overloading and allows for future expansion. A multi-tap transformer (with output terminals like 12V, 13V, 14V, 15V) is best, allowing you to boost voltage on long cable runs to compensate for drop.
Selecting Cable Gauge: This is critical for performance. Thicker wire carries more power farther with less loss.
14/2 Gauge: Good for runs under 50 feet with a total load under 100W.
12/2 Gauge (Recommended): The standard for most systems. Suitable for runs up to 100 feet and loads up to 200W. Its lower resistance minimizes voltage drop, ensuring your last fixture is as bright as your first.
10/2 Gauge: For very long runs (150+ ft) or high-wattage systems.
Phase 3: Installation Best Practices
Lay the Cable: Run the main cable in a loop from the transformer, staying 6-12 inches from fixtures. Bury it 6 inches deep or protect it with conduit where it crosses digging zones.
Making Connections: Use direct-burial, waterproof wire connectors (like gel-filled “wire nuts”). Strip wires, twist them together securely, screw on the connector until gel squeezes out, and tuck the connection into the fixture’s stake or housing to protect it.
Mounting Fixtures: Follow manufacturer instructions. For spike lights, push the stake firmly into soft soil; use a rubber mallet if needed. For well lights, dig a hole, add a 2-inch gravel base, set the fixture, backfill with gravel around the housing, and use the surcharge ring.
Phase 4: Power-Up & Adjust
Connect to Transformer: Strip the main cable ends and connect to the transformer’s output terminals. Start with the 12V tap.
Set the Timer/Astronomical Clock: Program your transformer’s built-in controls.
Turn On & Aim: Power up the system at dusk. Walk the property and adjust the aim of every spotlight. Fine-tune the transformer’s voltage taps if any fixtures appear dim.
Conclusion: The Pride of Creation
By methodically planning, sizing correctly, and installing with care, you build more than a lighting system—you build knowledge, capability, and a profound new appreciation for your home after dark. The glow you see each night will be a testament to your own effort and vision.
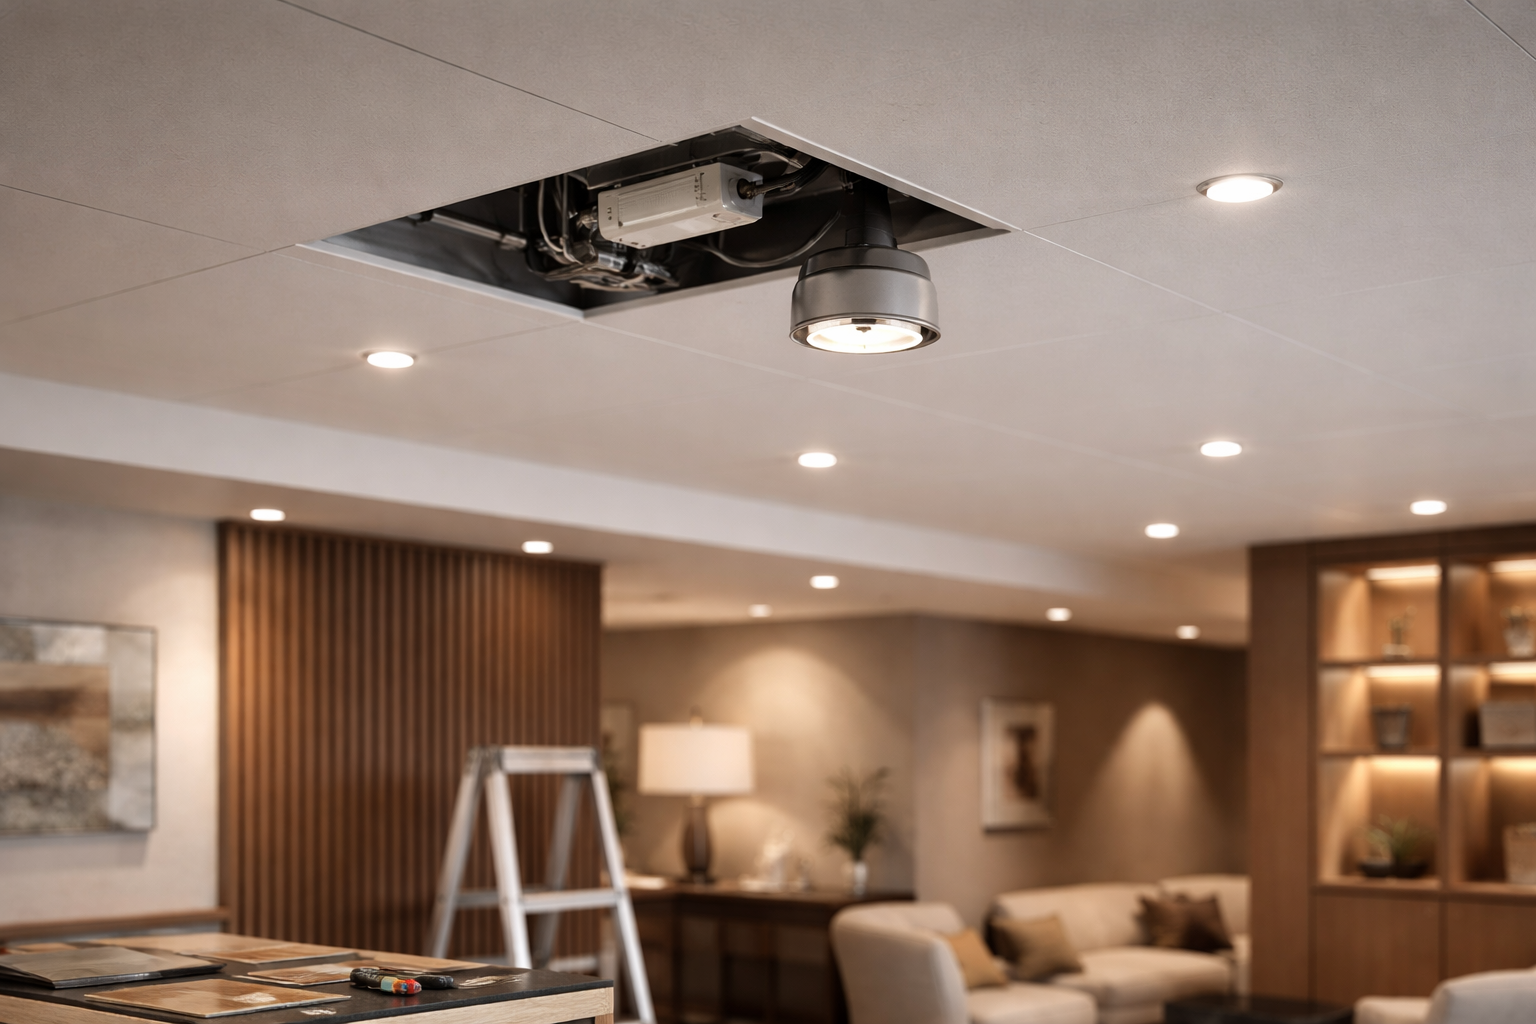 FM Lighting Replacements Without Guessing: Check Driver and Dimming Compatibility Before the Fixture Looks “Ready to Replace”
 Hotel & Serviced Apartment Refresh: Check Circuits & Dimming Before Choosing Fixtures
 Why multi-stakeholder projects rush timelines but delay decisions
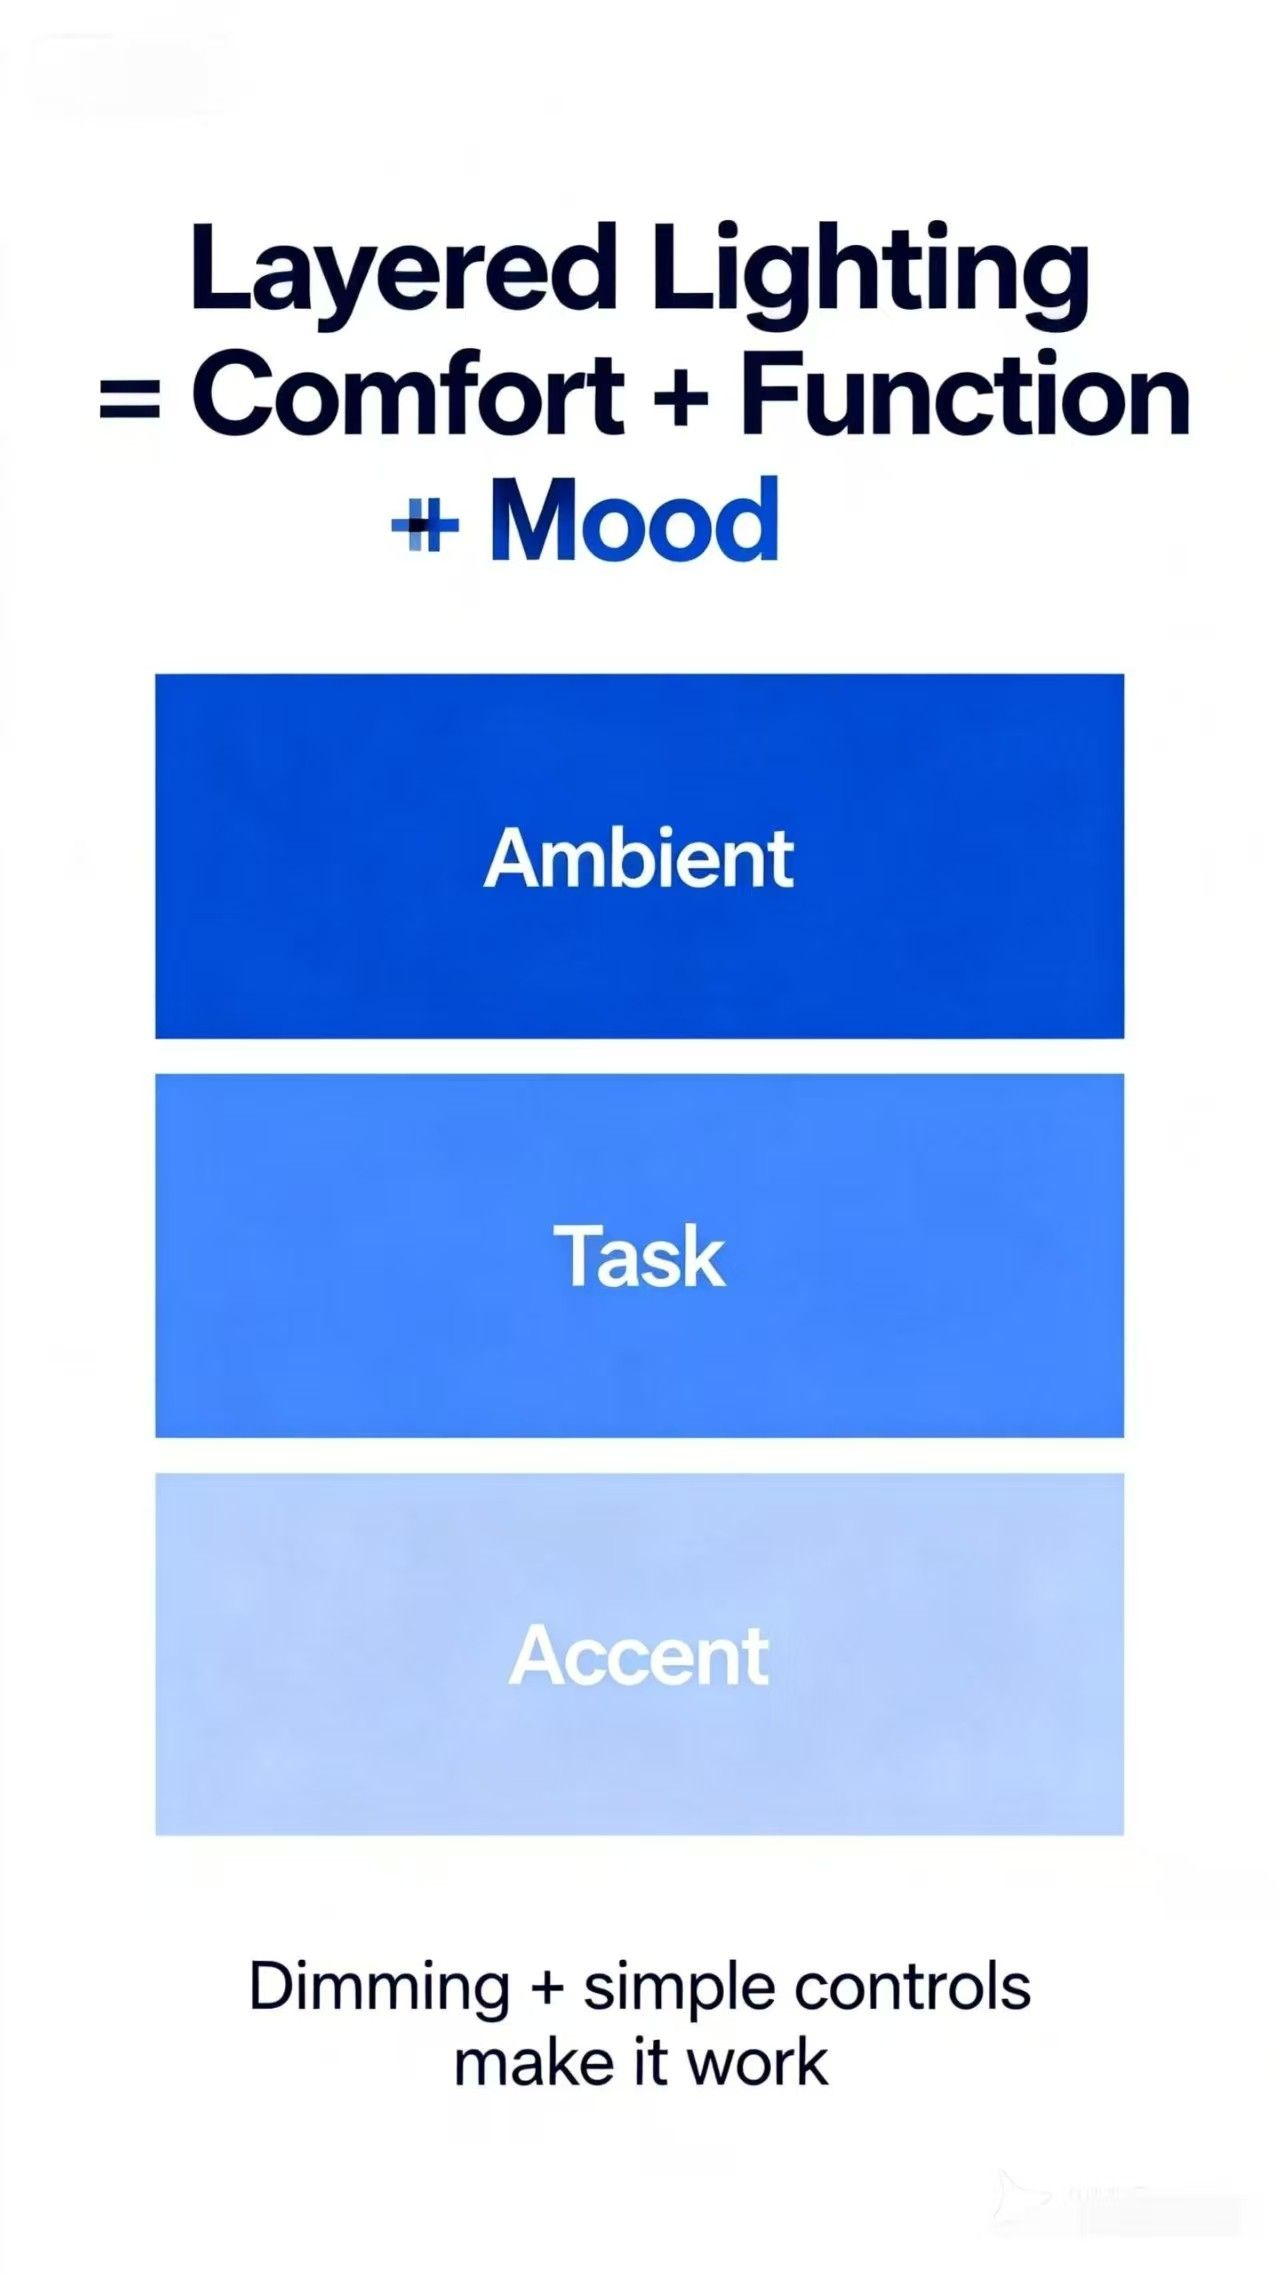 Layered Lighting 101: The Fastest Upgrade That Changes a Home